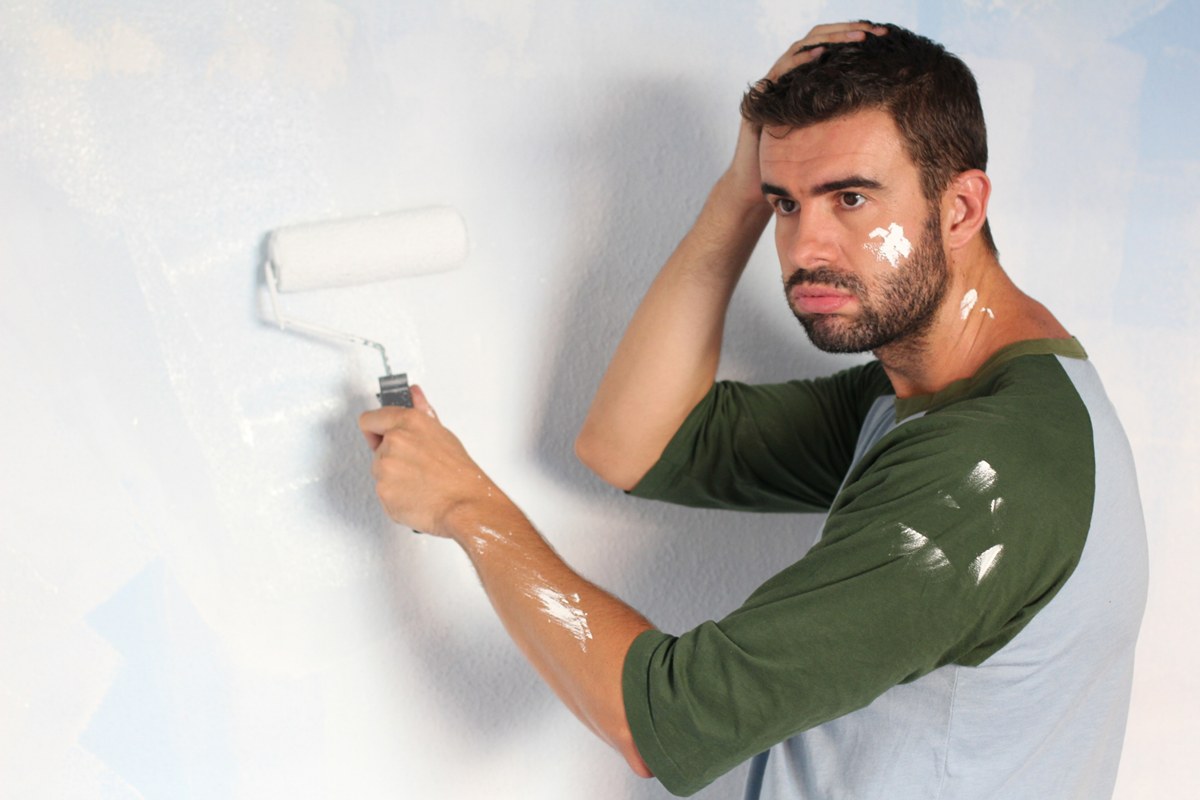
Ever spent hours on an interior painting project, only to step back and see uneven paint strokes and ugly brush marks? It’s frustrating when all you want is a smooth paint finish, but the wall ends up looking streaky and patchy instead. If that sounds familiar, you’re not alone. Many homeowners face this same issue—especially when trying to DIY their way to a freshly painted space.
Key Takeaways:
- Uneven paint strokes are a common problem in DIY painting.
- The right tools and techniques can make a huge difference.
- Fixing brush marks isn’t as hard as you might think.
- Prepping your walls is just as important as painting them.
- You can achieve a smooth paint finish with a few simple changes.

Why Your Painting Project Didn’t Turn Out as Expected
You set out on your interior painting project with big hopes. Maybe you wanted to brighten up a room, hide old scuff marks, or just bring a little color into your life. But now you’re left wondering, “What did I do wrong?”
Here’s the good news: You’re not bad at painting—you just didn’t have the right guidance. Most people don’t. That’s what you’re about to get, so read on!
Common Mistakes That Ruin a Painting Project
Let’s be honest—when you’re in the paint aisle staring at dozens of tools, it’s easy to choose the cheapest brush or roller just to get the job done. But here’s the truth: budget tools often lead to budget results.
Here’s what can go wrong:
- Low-quality brushes leave behind bristles and drag marks.
- Inexpensive rollers don’t hold paint well, leading to inconsistent coverage.
- Thin roller covers can cause streaks, especially on textured surfaces.
And it’s not just about tools. Prepping your wall properly is just as critical as the painting itself. Skipping this step can sabotage your results before you even open the paint can:
- Dust and dirt prevent paint from adhering evenly.
- Grease or residue causes bubbling and flaking.
- Old, peeling paint needs to be scraped and primed for a clean surface.
Taking shortcuts here might save you time upfront, but it’ll cost you a smooth finish in the end.
Step-by-Step: How to Fix Uneven Paint Strokes and Brush Marks
So you’ve spotted those dreaded streaks and marks—don’t panic. This is completely fixable. With the right approach, your wall can still look professionally painted. Here’s how to get it back on track:
1. Lightly Sand the Wall
Start by sanding the area with fine-grit sandpaper (220-grit works well). This smooths out the texture and gets rid of obvious brush marks. Focus on areas where the paint has ridges or visible strokes. Don’t press too hard—you’re aiming to even out the surface, not remove all the paint.
2. Clean the Surface
Once you’ve sanded, clean the wall thoroughly. Use a damp cloth or sponge to wipe away dust, sanding residue, and any dirt or grease. For particularly grimy walls, a mild detergent solution may help. Allow the wall to dry completely before moving on.
3. Use High-Quality Tools
Invest in the best tools you can afford. A high-quality angled brush provides better control and precision, especially for cutting in edges. Choose a roller with the appropriate nap length for your wall type—short nap for smooth walls, longer nap for textured surfaces. These tools help apply paint evenly and reduce the chances of streaks.
4. Choose the Right Paint
Not all paints are the same. Use a premium, self-leveling paint designed for interior walls. These paints naturally minimize brush marks and provide better coverage. Look for low-VOC or no-VOC formulas if you’re sensitive to fumes or want a more eco-friendly option.
5. Apply Proper Technique
The way you paint matters. Dip your brush or roller lightly—don’t overload it. Use consistent, even strokes in one direction. Maintain a wet edge by overlapping slightly into the previous stroke before it dries. This helps the paint blend better and prevents visible lines.
6. Feather Out Edges
Edges can be tricky. To avoid obvious borders where brush strokes meet, lightly go back over them with a dry brush or roller. This technique, called feathering, softens the transition and helps the paint blend into surrounding areas seamlessly.
7. Add a Final Coat
Once the wall is fully prepped and you’ve touched up uneven areas, apply one last coat of paint. Use long, smooth strokes and work systematically across the wall. This final layer acts as a unifier, tying everything together into a polished, smooth paint finish.

Need Help?
If your painting project didn’t turn out the way you hoped, don’t settle for less. Let Highland Painting take it from here. We specialize in transforming streaky walls into smooth, beautiful surfaces you’ll be proud to show off.
Call Highland Painting at 469-642-0972 today for a free estimate on your next interior painting project. Let’s make your space look its best—without the stress.


