Lime slurry application is a versatile and eco-friendly way to have that stunning finish on your walls. This method combines durability with a timeless aesthetic that has made it a very popular choice for interior and exterior surfaces. However, it only works if it’s done right. Below are five expert tips to help you achieve flawless results every time.
5 Expert Tips in Lime Slurry Application
1. Prepare the Surface Thoroughly
For successful lime slurry application, start with a clean, smooth surface. Remove dirt, grease, and flaking paint using a stiff brush and a mild detergent. On brick or concrete walls, ensure the surface is free of debris. For rough walls, fill cracks and holes with a lime-compatible filler to create an even base.
Once cleaned, let the surface dry completely. Moisture can interfere with adhesion, leading to uneven results. On porous surfaces, applying a suitable primer can enhance adhesion and reduce absorption. Lightly sand glossy or painted surfaces to improve bonding.
Quick Tip: Light sanding of glossy finishes can enhance adhesion on painted surfaces.
2. Mix Lime Slurry Properly
Getting the right consistency is crucial when working with lime slurry. Combine hydrated lime with water until the mixture has a thick, creamy texture. Follow manufacturer guidelines for the correct ratio based on your project needs.
To avoid lumps in your lime slurry application, sieve the mixture carefully. If a textured finish is desired, add fine sand or aggregates. Always test your mixture on a small section of the wall to ensure you achieve the desired look and feel.
Pro Tip: Mix natural pigments for custom color, ensuring that they are lime-compatible and will last long.
3. Right Tools
The tools you choose for lime slurry application have a great impact on the final appearance and hardness of the finish. Although trowel and brush are the most often used tools, each one has its own advantages and disadvantages. Here are three most popular tools for the application of lime slurry with their pros and cons:
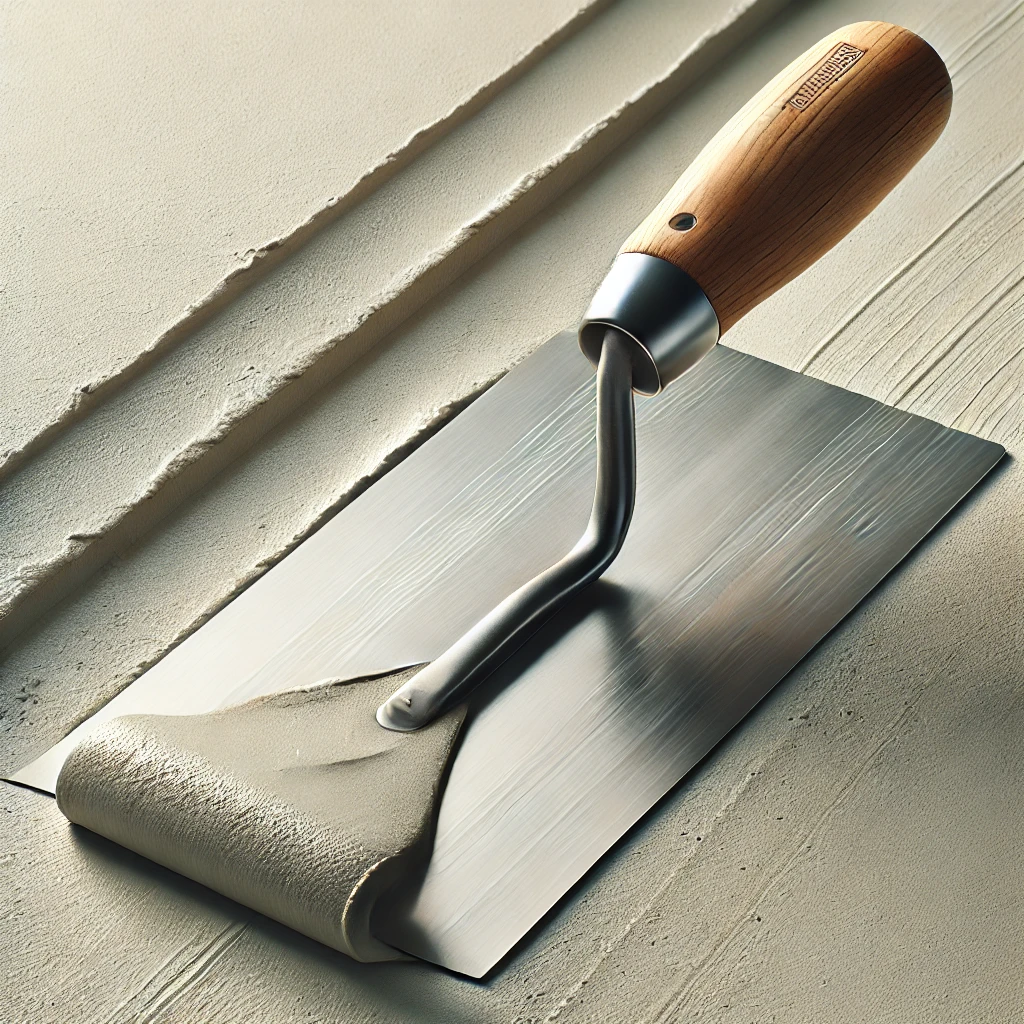
1. Trowel
Trowels are the go-to tool for achieving a sleek and polished finish. They allow for precise control over the application, ensuring even layers across the surface.
Pros:
- Excellent for smooth finishes.
- Allows precise layering and minimal material waste.
- Reduces the chance of visible brush marks.
Cons:
- Requires skill to use effectively.
- It can be time-consuming on textured surfaces.
Trowels are ideal for professionals or homeowners seeking a clean, modern look for interior or exterior walls.

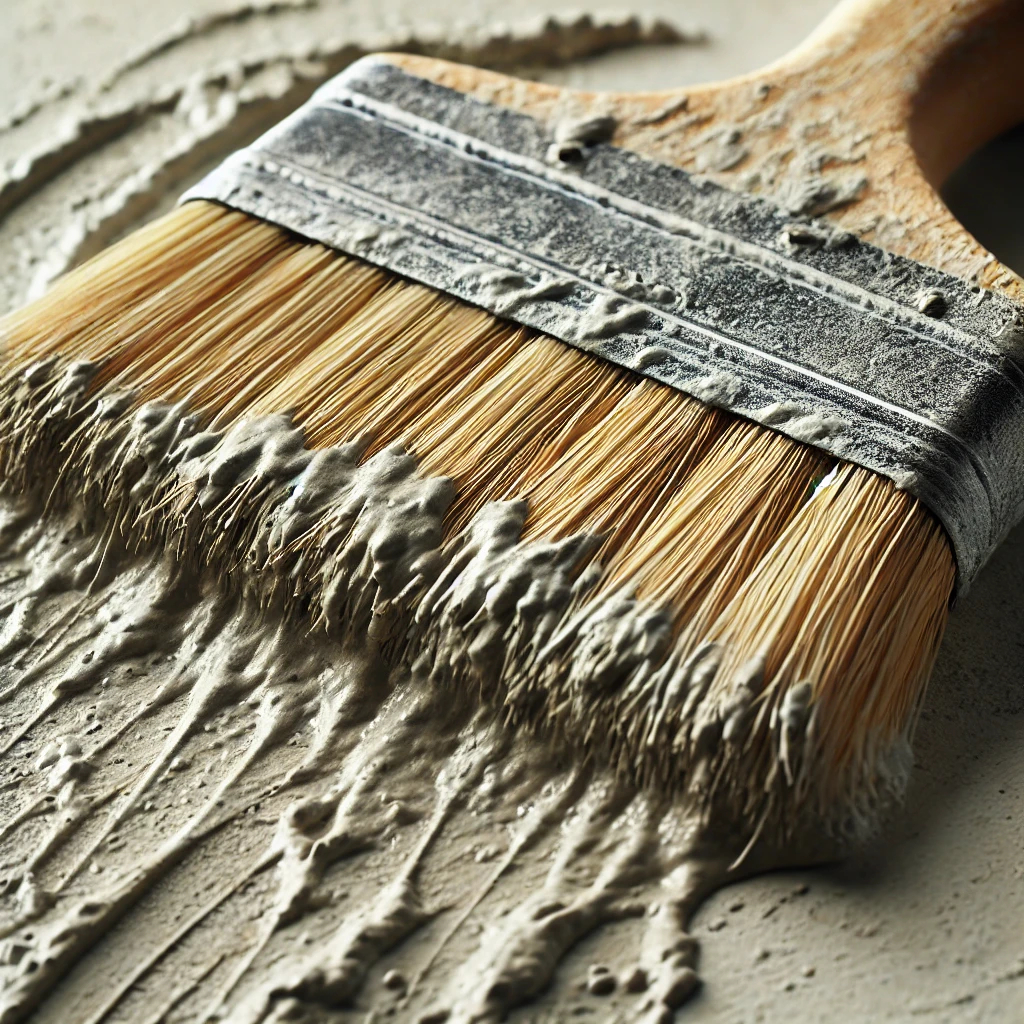
2. Stiff Brush
Stiff brushes are commonly used for a textured or rough look when applying lime slurry. Brushes make distinct patterns that characterize the surface.
PROS:
- Perfect for textured or natural finishes
- Easier to use for newbies
- Effective on uneven surfaces
CONS:
- It can leave inconsistent thickness if not used with care
- It absorbs more slurry due to the bristles.
A stiff brush is good for projects that require natural aesthetic appeal or historic restoration.

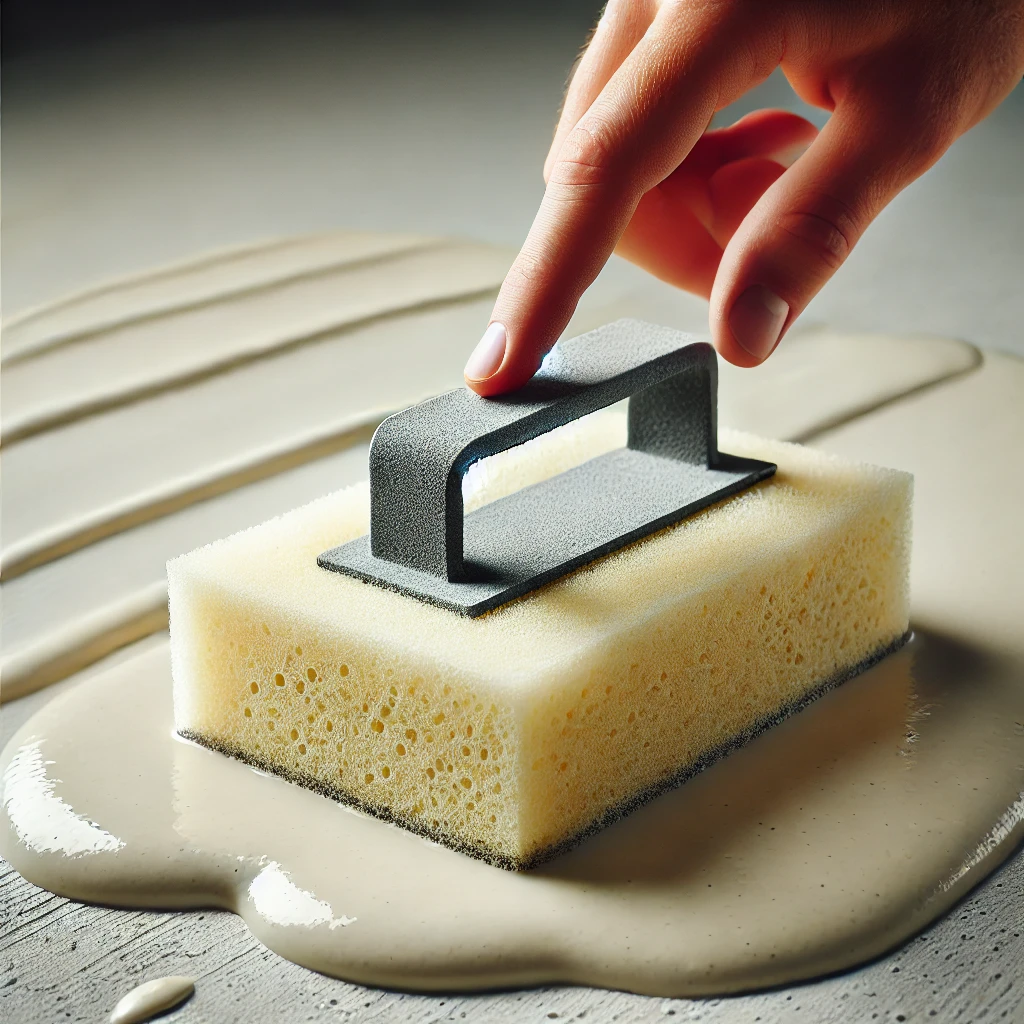
3. Sponge Float
Sponge floats are a combination tool that brings together smooth and textured finishes in one balanced tool. It is quite versatile and contributes to an overall soft, uniform look.
Pros:
- Blends edges and layers smoothly.
- This is perfect for finishing touches or blending imperfections.
- Lightweight and easy to handle.
Cons:
- It is not ideal for bold textures.
- It would need extra passes for coverage.
- A sponge float is used where subtle textures, or otherwise a blend of finishes, are desired.

Application Tips:
Apply the lime slurry in thin, even layers regardless of the tool. Start at the top of the wall and work your way down, overlapping strokes to avoid seams. Don’t overwork the material because this can weaken the bonding and affect the curing. A durable, visually appealing finish to your lime slurry application comes from the right tool used with proper technique.
4. Allow Proper Curing Time
Lime slurry application succeeds if patience is in place. Lime paints, unlike modern paints, need time to cure and bond with the surface. Keep the walls wet for at least 24 to 48 hours after application to avoid premature drying.
Mist the surface lightly with water during curing, particularly in hot or dry conditions. This step permits carbonation, where lime reacts with air-borne CO₂ to build up the finish.
Warning: Do not leave it exposed to direct sun or wind during setting as this can cause cracking.
5. Maintain and Protect the Finish
Even the most skillful lime slurry application requires maintenance to preserve its charm. Inspect the surface regularly for signs of cracking or flaking. Minor damage can typically be addressed by reapplying a fresh layer of slurry.
For exterior finishes, applying a breathable sealer adds an extra layer of protection against water infiltration while allowing the wall to breathe. Over time, lime slurry naturally weathers, adding to its unique aesthetic without compromising durability.
Recommendation: lime plaster naturally weatherproofs with time, adding a beauty effect without affecting durability.
Achieve Beautiful Walls with Expert Lime Slurry Application
Mastering the application of lime slurry transforms ordinary walls into stunning, durable surfaces that last for ages. This is an eco-friendly technique that not only gives your home a great look but also protects it for years to come. Every step, from surface preparation to tool selection, matters in achieving flawless results. If you’re ready to elevate your home with the beauty and durability of lime slurry finishes, let Highland Painting help. Our team has the expertise to handle every detail, ensuring your walls reflect the timeless charm of this unique application. Contact us at 469-642-0972 today to bring your vision to life!


