

Your window trim might seem like a small detail, but it plays a big role in how your home looks and how well it holds up over time. Peeling paint, mildew, and cracks around the edges don’t just make your house look worn out. They also let moisture sneak in, which can damage the wood or metal underneath.
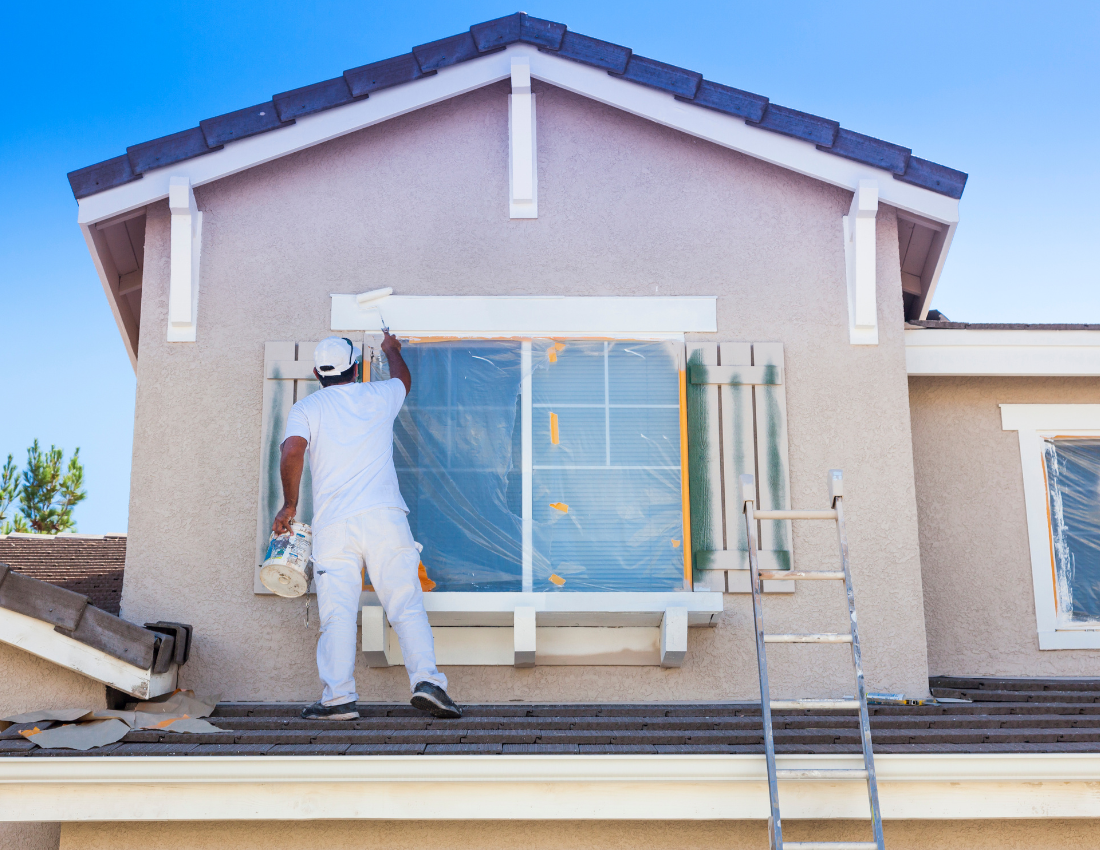
If you’re planning to refresh your home’s curb appeal, knowing how to paint exterior window trim properly can make all the difference. Here in Celina, TX, where the weather can shift from hot sun to heavy rain, good prep work and the right materials matter more than most people realize.
Let’s walk through what goes into a clean, durable finish and what to expect when you hire professionals to do it right.
Key Takeaways:
- Clean, sand, and caulk before applying primer or paint for lasting results.
- Choose exterior acrylic paint for strong adhesion and weather resistance.
- Paint trim in sequence for smooth, even coverage and fewer streaks.
- Regular cleaning and mildew checks help maintain your trim’s finish.
Why Repainting Your Window Trim Matters
Window trim isn’t just decoration. It seals gaps, protects against moisture, and frames your windows beautifully. When paint starts cracking or fading, it exposes the trim to dust, mildew, and sunlight. That’s how wood starts to soften or how metal begins to form rust.
By repainting your trim before the damage spreads, you help your home resist Texas heat, humidity, and UV exposure. It’s a small update that can make a huge difference in both looks and protection. If you’ve been thinking about when to repaint, check out our guide on how long does paint last to know when the right time might be.
Step 1: Clean the Trim and Fix Any Damage
Every good paint job starts with preparation. Painting over dirt, dust, or peeling paint will only trap problems underneath. Here’s what to do first:
- Use a putty knife to scrape away flaking paint.
- Sand the surface smooth. Start with medium sandpaper to remove rough spots, then use a finer one to even out the texture.
- Clean off any mildew using mild soap and water. A simple scrub with a soft brush will remove most buildup.
- Re-caulk edges or corners that have cracked or pulled away from the siding.
- Wipe the area clean and let it dry completely before moving to primer.
This step might feel slow, but it’s what makes the new coat last years longer instead of months.
Step 2: Apply Primer for Stronger Adhesion
Primer is what helps new paint stick and stay. Without it, the paint might peel or fade much faster, especially on raw wood or older metal trim. Choose a primer made for exterior use and apply it evenly over every area you plan to paint.
It’s also important to let it dry completely. If you paint too soon, you’ll trap moisture and reduce adhesion. Once it’s dry to the touch, lightly sand the surface to remove any bumps or raised grain. That creates a smooth base for the paint to hold onto.
If you’re curious about the types of finishes that work best outdoors, check out our blog on types of exterior paint finishes for helpful comparisons.
Step 3: Pick Quality Paint and Tools
The right materials can make or break your results. Use acrylic paint formulated for exterior surfaces because it handles moisture, temperature changes, and sunlight well. It also keeps its color longer than basic interior paints.
You’ll also want:
- A good angled brush (2″–2½”) for detailed edges
- Painter’s tape for sharp lines
- Drop cloths to protect your siding and ground
Avoid painting when it’s too hot or windy. Paint applied in direct sunlight tends to dry too quickly, which weakens the finish. Early morning or late afternoon in Celina’s mild light is usually best.
Step 4: Paint in the Right Sequence
A neat paint job comes down to order and control. Here’s the approach most professionals use:
- Start at the top of the trim to catch drips as you go down.
- Paint the side edges where the trim meets the wall.
- Move to the window sill and work outward.
- Finish with the flat face of the trim for even coverage.
Keep your strokes smooth and consistent. Avoid overloading your brush; it’s better to apply two thinner coats than one thick one. When the first coat dries, gently sand the surface again before applying the second. This gives you a smoother texture and better protection overall.
If you’re thinking of repainting the entire house later, you might also want to read our post on how much does it cost to paint the exterior of a house for budget insights.
Step 5: Handle Different Trim Materials the Right Way
Not all trim is the same, and Celina homes often use a mix of materials.
- Wood trim: Always prime before painting to seal and protect the surface from moisture.
- Metal trim: Remove any rust with a wire brush or sandpaper, then apply a rust-blocking primer before painting.
- Composite or synthetic trim: Use paint compatible with that specific surface to prevent peeling.
Taking time to treat each type correctly keeps the paint smooth and prevents issues like blistering or cracking later.
Step 6: Keep It Clean and Protected
Once the paint dries, keeping your trim clean helps extend its life. Every few months, check for mildew, dirt, or peeling areas. Rinse off the dust and touch up any thin spots before they grow.
If your home has brick areas, maintaining those surfaces matters just as much. Our post on how to maintain painted brick walls explains how to keep everything looking consistent over time.
Final Thoughts: Protect and Refresh Your Home
Freshly painted window trim makes your home look brighter, cleaner, and well cared for. The key steps are simple: prepare the surface, use quality primer and paint, apply thin coats, and don’t rush the process. With the right prep and application, your trim can look great for years.
Understanding how to paint exterior window trim is one thing, but applying it correctly in Texas weather takes experience. At Highland Painting, we handle everything from prep to cleanup so your windows look fresh and stay protected.
Here’s what our process includes:
- Full inspection of trim condition
- Cleaning, scraping, and sanding
- Repairing gaps and applying new caulk
- Priming and painting with high-quality exterior acrylic paint
- Applying two even coats for lasting coverage
- Final walkthrough and detail check
If your exterior paint is starting to fade or peel, now’s a great time to restore it. Highland Painting proudly serves Southlake, Frisco, Plano, TX, and nearby areas.
Call us at 469-642-0972 today for a FREE estimate and let our team help you bring back the clean, sharp lines your home deserves.